Food and Instagram photography go together like mac ‘n cheese, fish and chips, or avocado and eggs. In today’s social media savvy world, if you don’t use Instagram, it’s almost as if you didn’t eat it!
The craze for photographing food and Instabragging about it seemed to start with ‘foodies’ who wanted to show just how serious they were about their food, as well as healthy food bloggers such as Ella Woodward who has a huge following on Instagram, a phenomenally successful Naturally Ella website and various cook books available to buy.
Although now, more and more people are joining in and flashing their food online. Whether it’s to brag about their top restaurant dish, show off their culinary skills or to let people know they’re eating a super healthy bowl of acai and quinoa; food displays on Instagram are here to stay.
If you fancy joining in, stop for a minute before you click and take a look at our top tips for taking food photos that look good enough to eat. After all, if you want to have a little Instabrag, you may as well do it right! Here’s our advice on how to make your Instagram photography look as tasty as possible…
1. Compose before you click
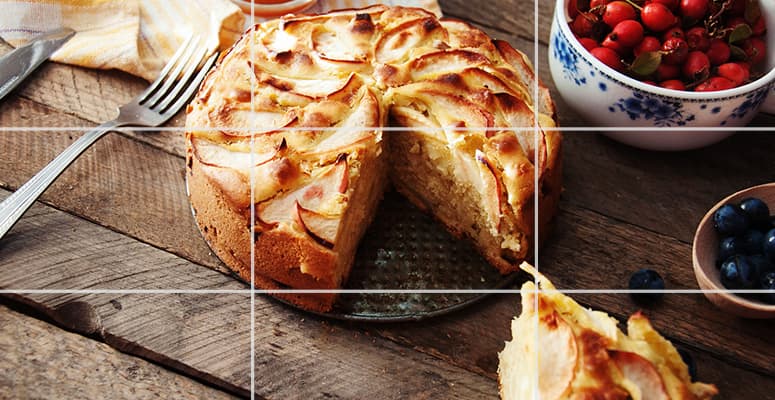
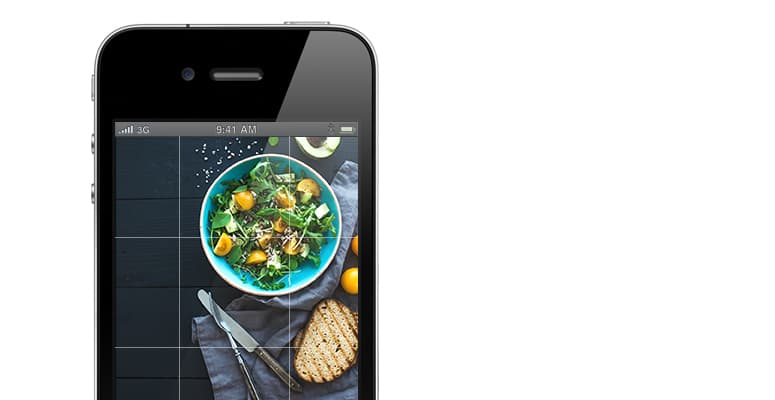
How you arrange – or compose – your food can make a real difference to how it looks once you click. Try using the rule of thirds (where food is arranged ‘off centre’ according to a grid-like calculation so it stands out more) or if you prefer a more symmetrical look, consider natural framing around your food so that everything looks beautifully centered.
Both ways work well, depending on your food. For example, a rice salad with large chunks of chargrilled cauliflower as the main focus would work better using the rule of thirds, whereas a lightly dusted and already cut sponge cake would catch the eye better if it were centered on a delicate cake stand.
2. Crop it
If you’re going for high impact, go for the chop. In fact, cropping the edges of your subject is a tried and tested professional technique, and it works as it adds that extra bit of emphasis for a finished, polished look.
3. Guide the eyes
Get viewer’s eyes moving with clever visual techniques such as flowing, where you capture food pouring into a bowl, or how about scattering your food for an abundant look? If you have more than one of the same food ( muffins or pies for example) consider using a geometric pattern in your Instagram image but if you do, use the grid lines on your phone to ensure lines are parallel for a beautifully composed shot. Guide those eyes to your images!
4. Colour, colour, colour!
Think about the colour of your image. For example, if you start with a neutral background you can add a pop of colour with your food.
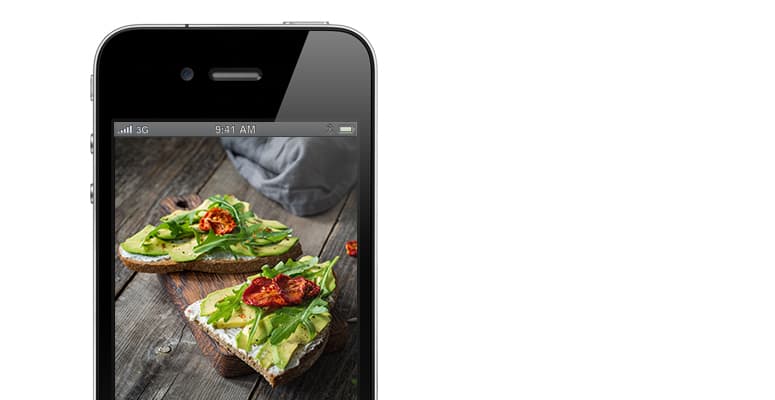
Try and stick to no more than three colours for a beautiful balance and think about those textures too. An avocado tinged with green can look even better if you cut it into thick pieces with rough edges that show off its creamy consistency. Place them on a wedge of multi-grain toast, scatter a few plump red cherry tomatoes, set the whole look off against a black plate and you have a really sophisticated Instagram food look!
5. Shapes and stories
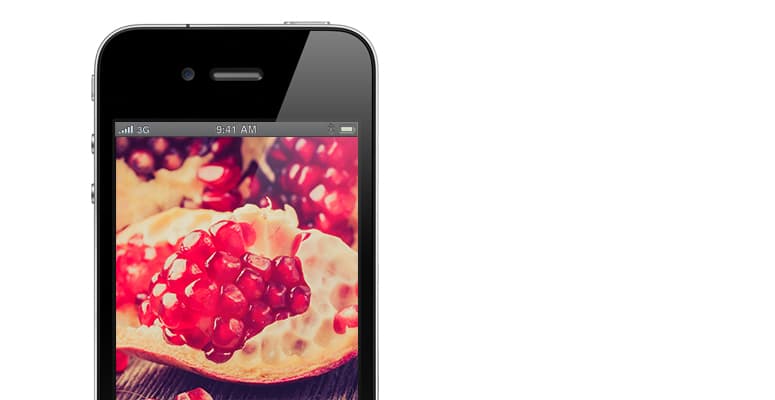
You could also arrange food in shapes and even tell a story; perfectly popped pomegranates made into a heart for a Valentine’s Day meal or how about blocks of different coloured cheeses arranged Jenga style for kid’s party?! The possibilities are endless, and fun too!
6. Filter
The way you frame, focus and control the brightness will also affect your image and don’t forget the different range of filters, alignment tools and colour editing options you can get on apps and Instagram itself.
So, what are you waiting for? Get cooking and watch the likes come in when you Instagram your next meal!

